Your Phone Camera Is Already Good Enough
Most phones sold in India in the last few years can record sharp 1080p or even 4K video. Many creators you follow on Instagram and YouTube shoot entirely on phones. So do not spend your savings on a costly camera before you learn to edit.
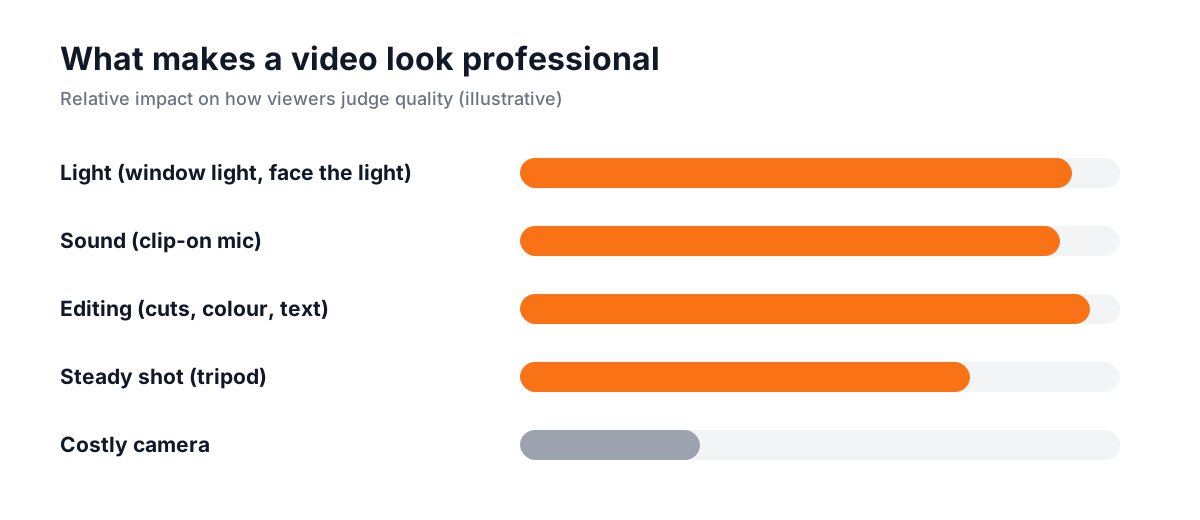
What actually makes a video look 'expensive' is: good light, clear sound, steady shots, and then clean editing with the right colour, cuts and text. Three of those four you can fix without buying a camera.
Phone Shooting Settings That Make Editing Easier
- 1Pick one resolution and frame rate and stick to it
1080p at 30 fps is perfect for most social media. If you shoot some clips at 60 fps and others at 30 fps, they will not match smoothly on the timeline.
- 2Lock focus and exposure
Long-press on your face on the screen until you see 'AE/AF Lock' (the name varies by phone). This stops the brightness from jumping when you move.
- 3Face the window
Stand facing a window, not with the window behind you. Soft daylight on your face is the cheapest good light you will ever get.
- 4Use an external mic
A clip-on (lavalier) mic costs far less than a camera upgrade and improves your video more. People forgive average picture; they leave for bad sound.
- 5Keep it steady (no shaking)
A small tripod or even a pile of books works. Walking? Hold the phone with both hands close to your chest, elbows tucked in, and walk heel-to-toe. Turn on the grid lines and keep the eyes near the top third of the frame.
- 6Shoot a little extra
Start recording 2 seconds before you speak and stop 2 seconds after. That gives you room for clean cuts.
Why Serious Editing Needs a Laptop, Not a Phone App
Phone editing apps are great for trimming a clip quickly. But the moment a client asks for professional work, their limits show up. Here is what a laptop editor lets you do that is hard or impossible on a phone:
| What the client wants | On a phone app | On a laptop editor |
|---|---|---|
| Many video, text and graphic layers together | Very limited | Unlimited tracks, full control |
| Proper colour correction and a consistent 'look' | Basic filters only | Scopes, curves, colour wheels, LUTs |
| Clean audio: remove noise, balance music and voice | Very basic | Audio mixer, noise reduction, ducking |
| Animated titles, lower thirds, logo reveals | Templates only | Custom motion graphics |
| Lip sync and multi-camera edits | Hard to do accurately | Frame-accurate sync and multicam |
| Revisions a week later | Project often lost or messy | Saved project, organised bins |
This is also what employers test in interviews. They want to see a timeline with organised layers, not a filter on a single clip.
What Laptop Do You Actually Need?
You do not need a gaming machine to start. Here is a practical guide for 1080p social media and YouTube work, based on what we see students use every day. Always check the official requirements of the software you choose[2][3].
Practical laptop guide for 1080p editing
| Part | Can start with | Comfortable | Why it matters |
|---|---|---|---|
| Processor | Intel i5 7th–9th gen / Ryzen 5 | Intel i5/i7 11th gen or newer / Ryzen 5 5000+ | Decoding video and effects |
| RAM | 8 GB (simple edits) | 16 GB | More layers without freezing |
| Storage | SSD (any size) | SSD 512 GB + external drive for footage | Fast loading of clips |
| Graphics card | Built-in graphics | Dedicated GPU with 4 GB+ memory | Faster effects, colour and export |
| Screen | Full HD | Full HD with good colour | Judging colour correctly |
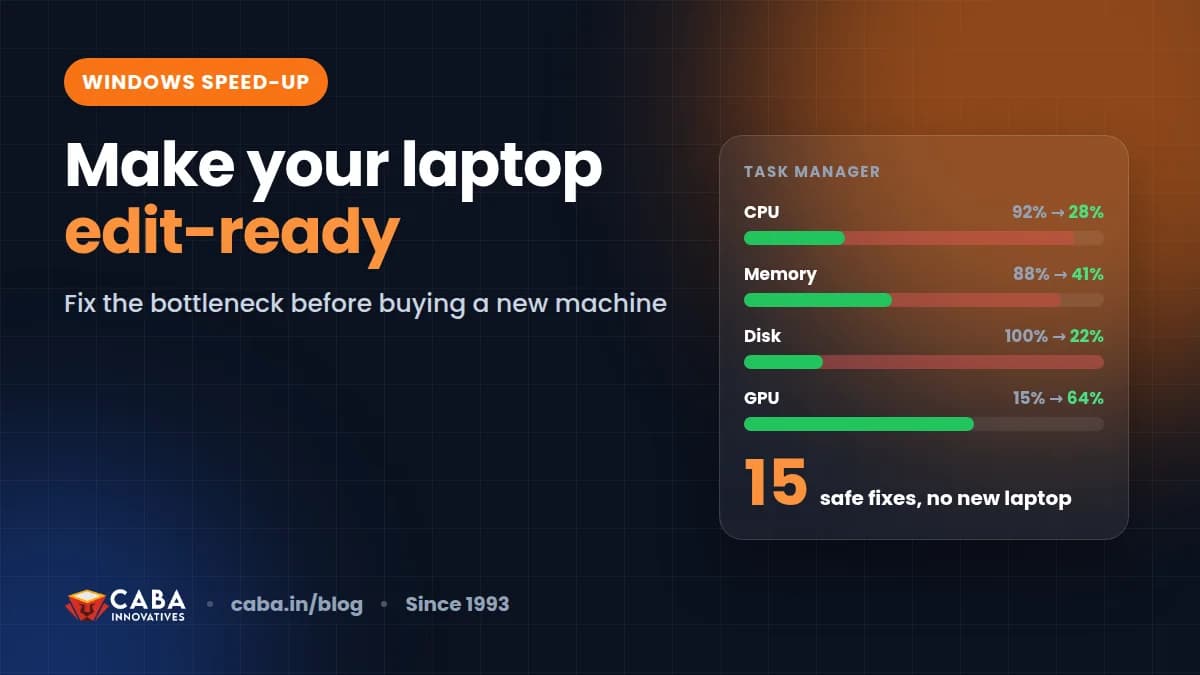
The single best upgrade for an older laptop is usually an SSD, then more RAM. Both are affordable and can make an old machine feel new. Our guide to speeding up Windows for editing covers the free fixes too.
For software, DaVinci Resolve has a free version that handles most formats up to Ultra HD[2], and Adobe Premiere Pro is widely used in Indian agencies and production houses. Learn one properly and the other becomes easy.
Slow Laptop? Use Proxy Files
Phone videos are often recorded in heavy formats (like HEVC/H.265) that make a basic laptop struggle. The professional trick is proxies: the editor makes small, light copies of your clips, you edit smoothly with those, and at export it automatically uses the full-quality originals.
- 1Import your clips
Copy footage from the phone to the laptop first. Never edit directly from the phone or a slow pen drive.
- 2Create proxies
In Premiere Pro, right-click the clips > Proxy > Create Proxies. In DaVinci Resolve, right-click > Generate Proxy Media.
- 3Turn proxies on while editing
Use the proxy toggle button in the viewer. Playback becomes smooth even on older machines.
- 4Export normally
The export uses the original full-quality files automatically.
A Simple Professional Editing Workflow
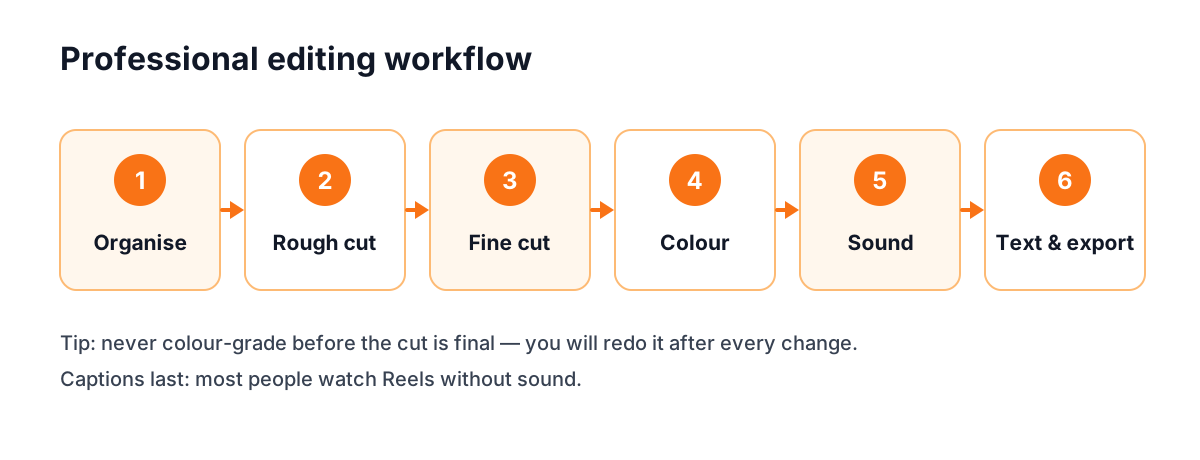
- 1Organise
Make folders (bins) for A-roll (talking), B-roll (extra shots), music, graphics. Name files clearly.
- 2Rough cut
Put the story in order. Remove mistakes, long pauses and repeats. Do not worry about looks yet.
- 3Fine cut
Tighten every cut. Use J and L cuts (sound starts a moment before or after the picture) to make it flow naturally.
- 4Colour
First correct (fix exposure and white balance so skin looks natural), then grade (add a mood or look). Match all clips to each other.
- 5Sound
Clean the voice with noise reduction, keep voice around the same level throughout, and lower the music under speech.
- 6Text, captions and export
Add captions (most people watch Reels without sound), titles and lower thirds. Then export in the right size for the platform.
Export Settings for Reels, Shorts and YouTube
| Platform | Shape | Size | Good starting settings |
|---|---|---|---|
| Instagram Reels / YouTube Shorts | 9:16 vertical | 1080 × 1920 | H.264, same frame rate you shot at[4] |
| Instagram feed | 4:5 vertical | 1080 × 1350 | H.264[4] |
| YouTube (1080p) | 16:9 | 1920 × 1080 | MP4, H.264, about 8 Mbps at 24–30 fps, 12 Mbps at 48–60 fps[1] |
YouTube recommends uploading in the same frame rate the video was recorded in[1]. So if you shot at 30 fps, export at 30 fps.
Where AI Helps (and Where It Doesn't)
- Auto captions: Most editors can now make captions from speech. Always read and correct them, especially names and Hindi words.
- Noise removal: AI voice cleanup can rescue a noisy recording, but it cannot fix a voice that was never recorded clearly.
- Rough cuts from transcripts: Some editors let you cut video by deleting text. Great for long talking videos.
- AI b-roll and images: Useful for ideas and fillers, but check the tool's commercial-use terms before using them in client work.
AI makes a trained editor faster. It does not make the creative decisions: which moment to keep, when to cut, what mood the colour should have. Those still come from practice.
Turning This Into Income From Home
Local businesses near you already need videos every week: clinics, coaching centres, cafés, salons, real estate agents, boutiques. Many cannot afford an agency. A person who can shoot on a phone and edit cleanly on a laptop can serve them from home.
- Make 5 sample videos for imaginary or friendly local businesses.
- Put them in one simple portfolio (Instagram page or Google Drive link).
- Offer a monthly package: for example, 8 Reels a month.
- Deliver on time, every time. Reliability wins repeat clients.
If you want to go further, into full-time jobs or higher-paying work, the next steps are advanced editing, colour grading and motion graphics. See the video editing course details, or look at the motion graphics course, where salaries grow faster.
Frequently Asked Questions
Can I make professional videos with just a phone?
Yes, for social media and YouTube. Shoot with good light, a clip-on mic and a steady phone, then edit on a laptop for proper colour, sound and text. The editing is what makes it look professional.
Is an i5 laptop enough for video editing?
An Intel i5 from 7th generation onwards can edit 1080p video, especially with 16 GB RAM, an SSD and proxy files. For heavy 4K work or lots of effects, a newer processor and a dedicated graphics card help a lot.
Why not just edit on a phone app?
Phone apps are fine for quick trims, but they are limited for multiple layers, colour grading, audio mixing, motion graphics and lip sync. Clients and employers expect laptop-level work.
What is the right video size for Instagram Reels?
Use 9:16 vertical at 1080 × 1920 pixels. Export in the same frame rate you shot in, usually 30 fps.
Which is better for beginners, Premiere Pro or DaVinci Resolve?
Both are professional editors. DaVinci Resolve has a free version, and Premiere Pro is common in Indian agencies. The editing skills are the same, so learn one well and switching later is easy.
References
- YouTube recommended upload encoding settings — YouTube Help (Google)
- DaVinci Resolve — Blackmagic Design
- Adobe Premiere system requirements — Adobe Help Center
- Instagram post size guide: post, story and Reels dimensions — Buffer
- Fix choppy playback in Premiere — Adobe Help Center